Brilliant Art and Craft Ideas for Preschoolers
“Art is as natural as sunshine and as vital as nourishment.” – Mary Ann F. Kohl
So don’t just introduce your child to academics but also get them involved in art and craft activities. Be it making paper flowers, colouring paper books or creative origami shapes; there are numerous activities that can spike toddlers’ interest and nurture their natural talent.
By indulging in art education, you don’t just boost your child’s physical, social and cognitive development but also strengthen your bond with them. In times, when everyone is stuck with smartphones and technology, involving in art and craft activities is a great way to spend quality time with your child.
To help you, here we have scooped out brilliant drawing crafts ideas that you can try with you little one. Take a look!
Blow Painting
You must have tried this one in your childhood. And if not, it’s time to enjoy it with your kid. For this activity, all you need are water colors, paper, dropper and straw. Here is how to do it:
- Place the sheet of paper on a flat surface.
- Cut the straw in half for the blowing action is more effective when closer to the paint. You can also poke a hole in the straw hallway to prevent your child from sucking the paint by accident.
- Use the dropper to pour few drops of water color on the paper.
- Use the straw and blow the paint drops in various directions.
- Repeat the steps with other colors.
You can also frame the best paintings and believe us it will make your kid happy as sunshine.
Potato Stamping
Does your kid love potatoes? If yes, then they’re definitely going to like this creative activity. This simple method will also keep them busy for hours giving you the opportunity to relax for a while. Just take a potato, cookie cutter and paint.
Cut the potato in half. Press the cookie cutter into the potato and try to make the imprint. Once you are done stamping the design on potato, dip it in paint and start creating design. You can try this same activity with other vegetables to make your kid love them more.
Cardboard Minions
It’s not just drawing craft ideas; you can also make minion Baboi (it means toy in minion language if you don’t know) with your kid! Read on how:
Things You Need:
- 3 Cardboard Tubes
- Glue Stick
- Scissors
- Black, Gray-Brown and Yellow Markers
- Pattern
- Construction paper in blue, yellow, white and black colors
Steps to Follow:
- Cut the yellow construction paper in half and wrap it around the cardboard tube.
- Now cut the blue paper to make the dungaree of minion and stick it with glue. You can also add details like buttons using a black
- Just the way you made clothes, make goggles and eyes of the minions. Use grey or brown markers to make a face and your minion is ready!
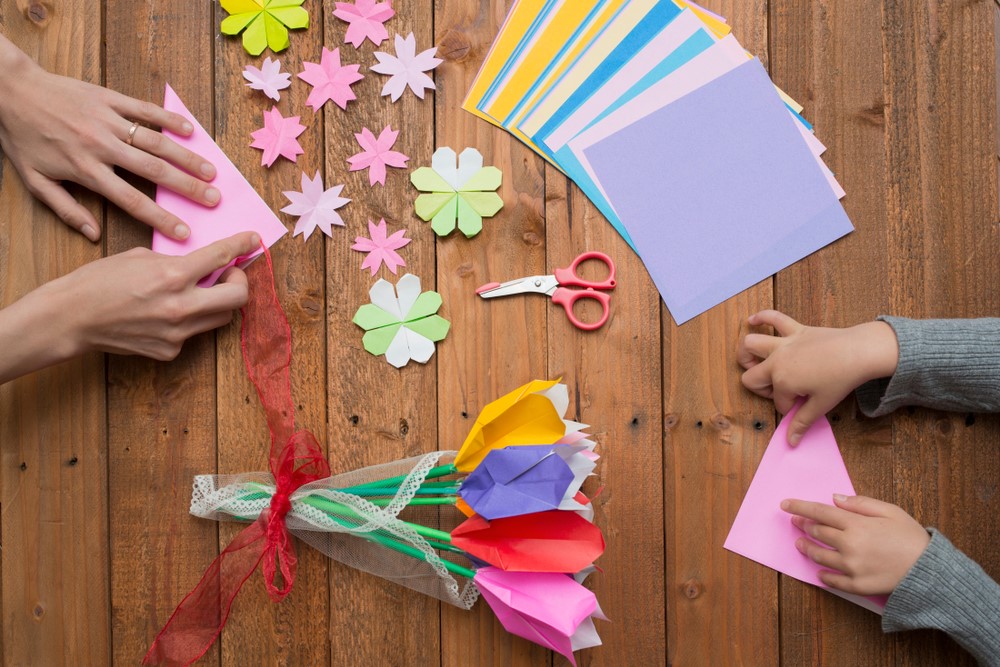
Origami Paper
Origami is a Japanese art of folding paper in which you can make interesting things with your child. Be it a paper boat, bird, butterfly or even a fan; you can make them all by using origami techniques. There are plenty of art education websites and YouTube videos where you can find methods of making these things.
Origami is a unique and creative way to improve their coordination skills and boost their creativity. So, do try them with your kid and have a great day making interesting paper figures.
Glitter Picture
A shiny and glittery picture made by your kid is a great article to decorate your drawing room, isn’t it? And all it requires is a card, glue and glitter.
First, draw a picture on the paper and outline it with glue. Ask your child to sprinkle glitter over the page. Once done, just shake the paper, and you’ll get a pretty, glittery picture ready to be framed!
Bunny Mask
Quite an easy thing to make, you need paper plates, pink marker and template to make a bunny mask. Here are the steps to follow:
- Use template to draw bunny ears on the paper plate and cut it out.
- Take another paper plate, make concentric circles and cut out the outer circle.
- Attach some ears and whiskers made from the card (curled at the ends) and use thread to knot the mask at the back of the head.
Be a fun parent and make two cute bunny masks and play with your kid!
To Sum Up
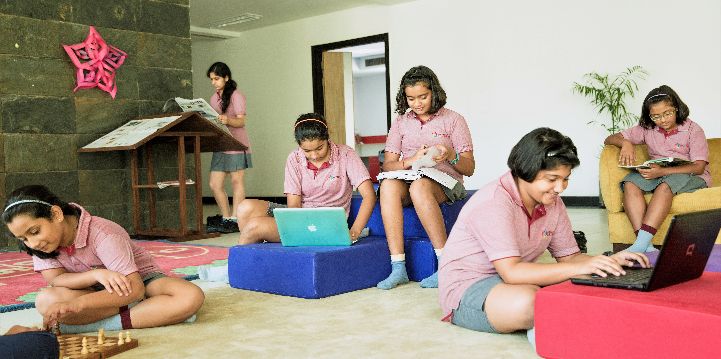
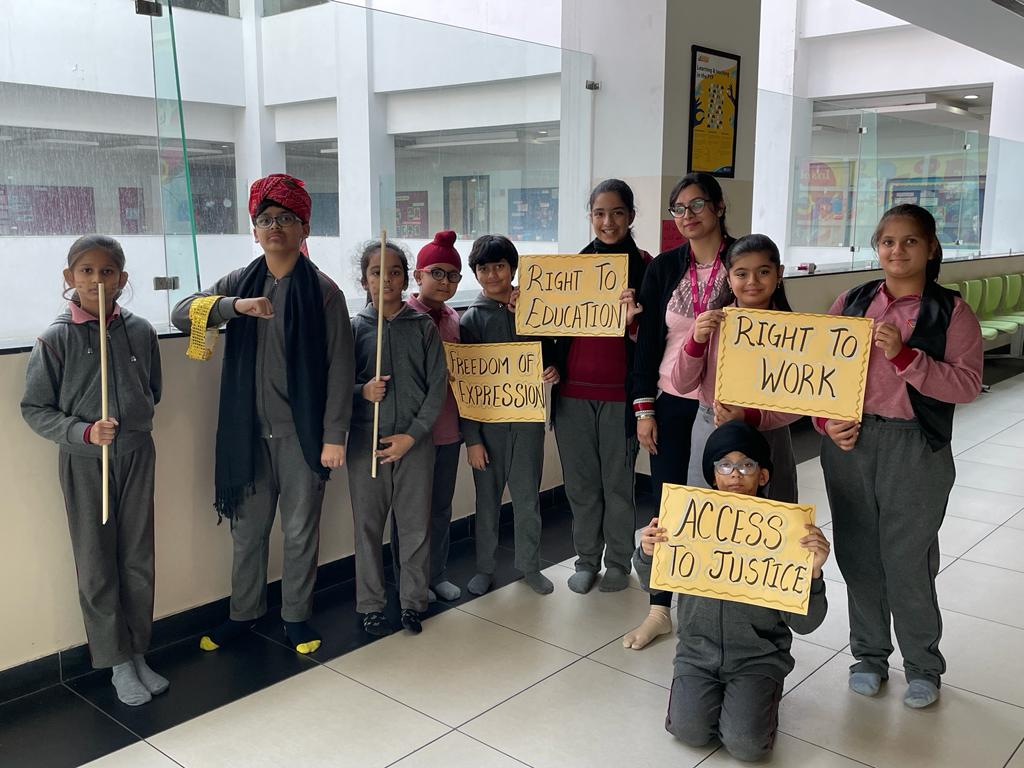
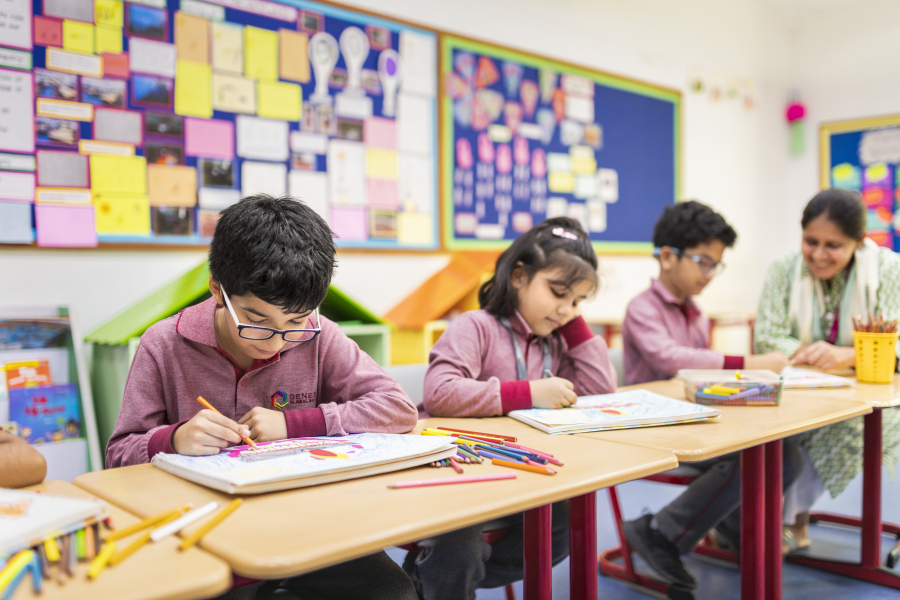
Read it all? Over to you then! No doubt, that we at Genesis Global School do involve our little scholars in art education, but this doesn’t mean you can take the backseat. Enjoy such activities with your child at home and cherish the beauty of parenthood a little more!
Popular Posts
Recent Posts

Archive
- April 2024
- March 2024
- February 2024
- January 2024
- December 2023
- November 2023
- October 2023
- September 2023
- August 2023
- July 2023
- June 2023
- May 2023
Newsletter


 A1 and A12, SECTOR-132,EXPRESSWAY, NOIDA (201304)
 +91-9711000498 / 560 / 625 / 626
 info@genesisgs.edu.in

Leave a Reply